Root Renderer Shader
This example demonstrates how to implement a custom render feature in Stride using a root renderer shader. The project showcases:
- Creating a custom component that integrates with Stride's rendering system
- Implementing a root render feature that adds custom visual effects to the scene
- Setting up shader parameters through component properties
- Integrating custom rendering into Stride's graphics pipeline
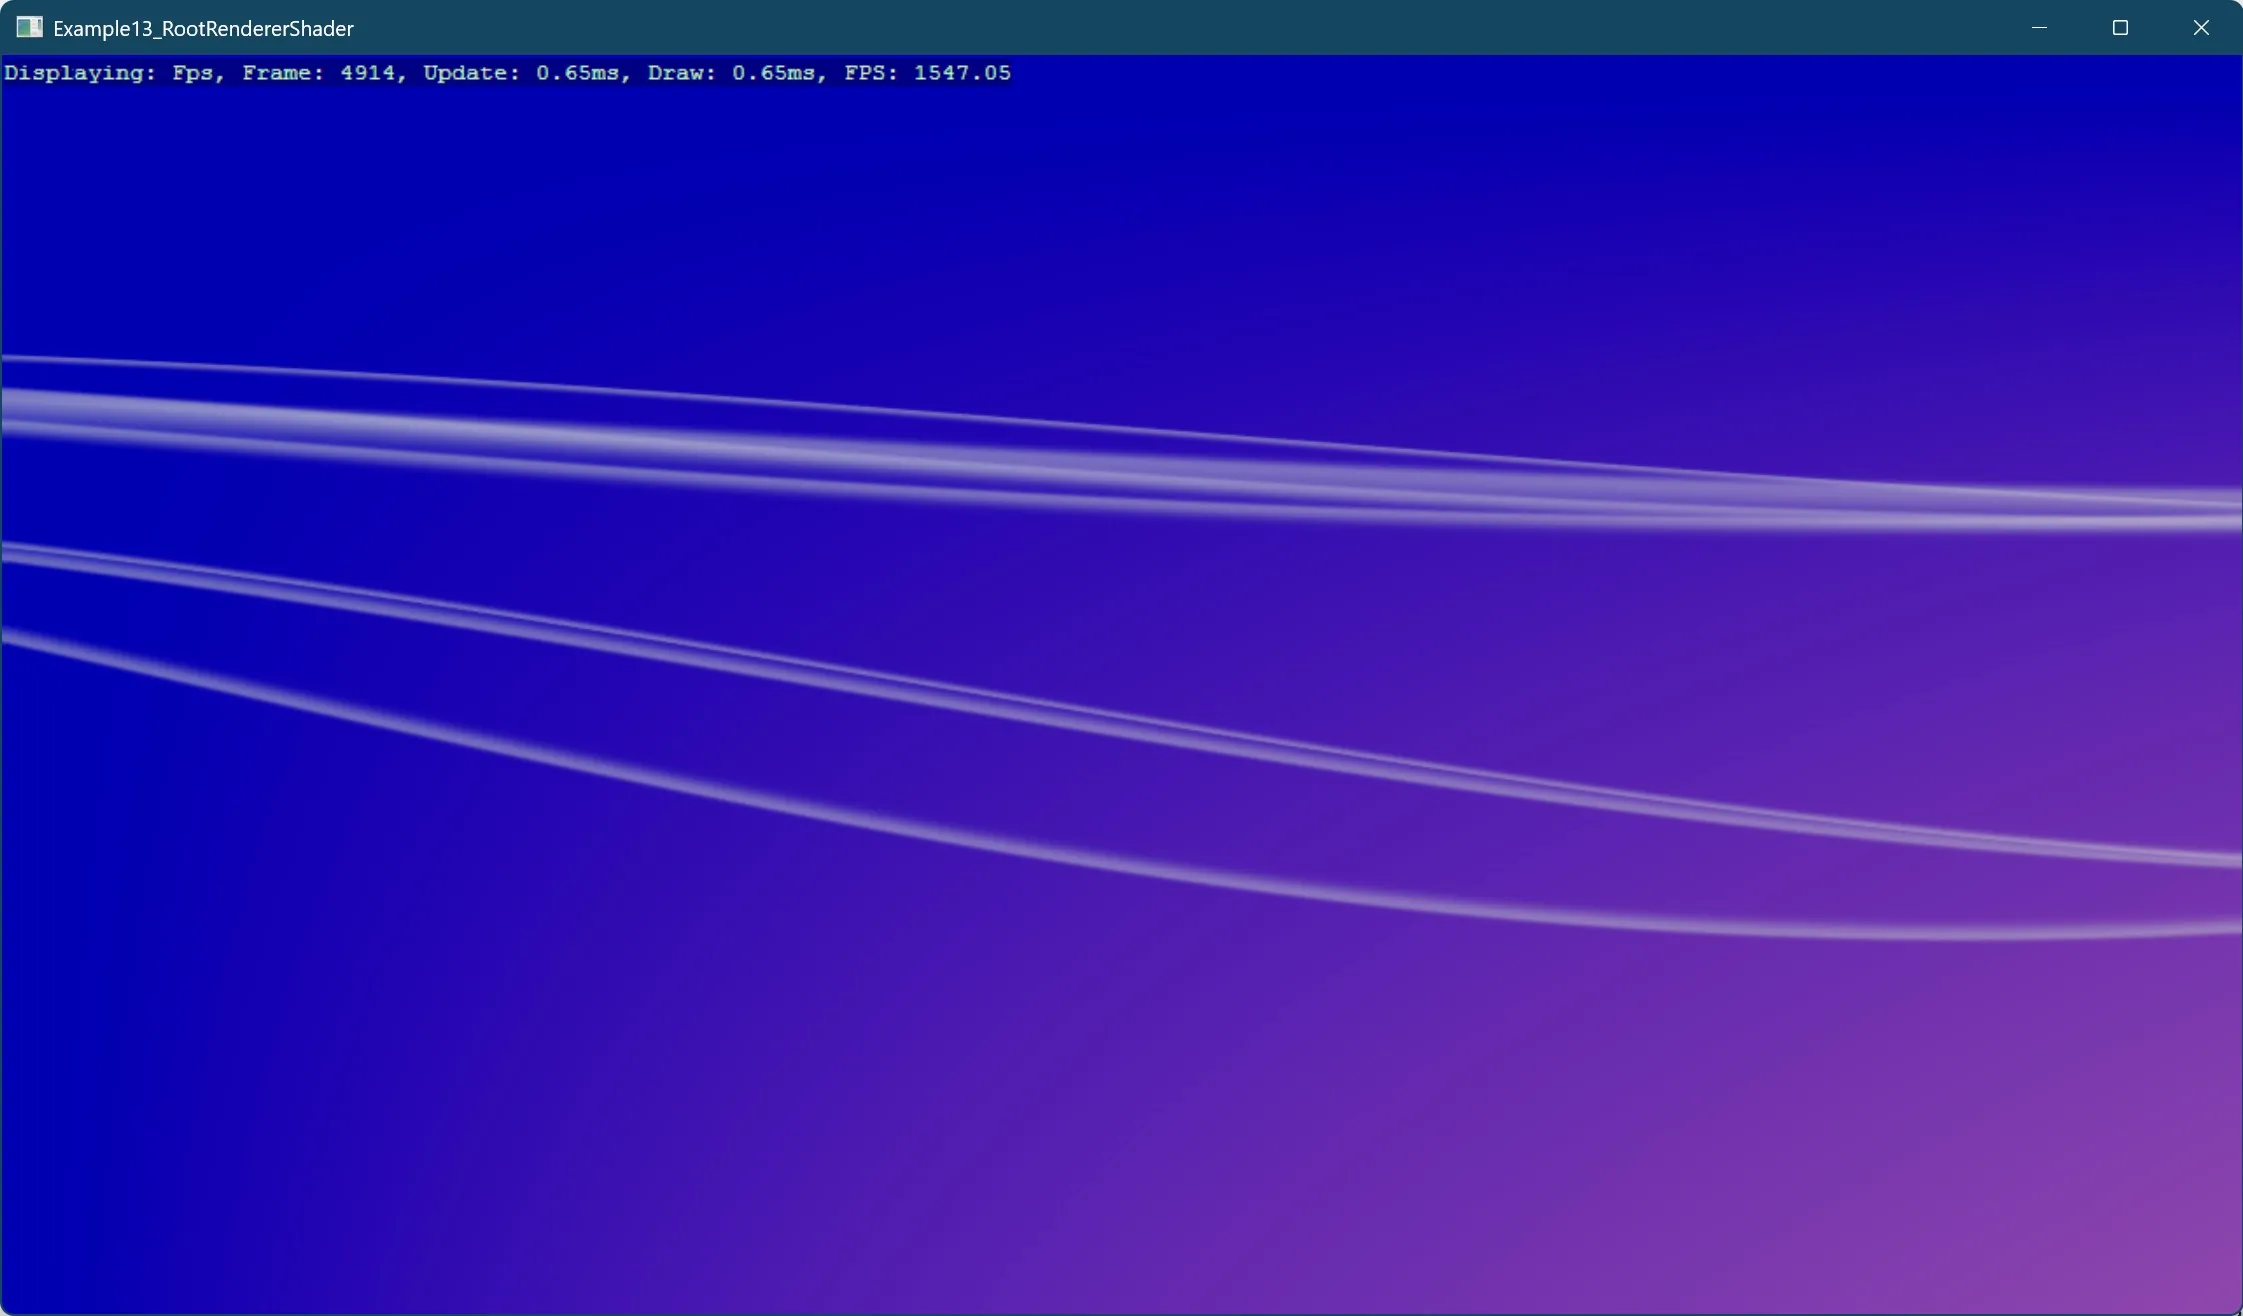
The example creates a visual ribbon background effect that's fully configurable through properties like intensity, frequency, amplitude, speed, and width factor. It illustrates a complete workflow for adding custom shader-based visual effects to a Stride application.
Key components in this implementation include:
RibbonBackgroundComponent- An entity component that stores and manages the visual properties of the ribbon effectRibbonRenderBackground- A render object that holds the parameters needed by the shaderRibbonBackgroundRenderFeature- A render feature that integrates with Stride's rendering pipeline
The project demonstrates important render pipeline concepts including:
- Registering a custom render feature with the graphics compositor
- Specifying render stages and groups for proper rendering order
- Connecting component properties to shader parameters
- Creating entity-bound visual effects through the component system
This approach to custom rendering is particularly useful for creating background effects, post-processing, and other visual enhancements that require direct access to the rendering pipeline.
Note
This example requires the additional NuGet packages Stride.CommunityToolkit.Bepu, Stride.CommunityToolkit.Skyboxes and Stride.CommunityToolkit.Windows. Make sure to install all before running the code.
View on GitHub.
using Example13_RootRendererShader.Renderers;
using Stride.CommunityToolkit.Engine;
using Stride.CommunityToolkit.Rendering.Compositing;
using Stride.Engine;
using Stride.Rendering;

using var game = new Game();

game.Run(start: Start);

void Start(Scene scene)
{
    game.SetupBase3D();
    game.AddProfiler();

    AddRenderFeature();

    // We must use a component here as it makes sure to add the render processor to the scene.
    // The render processor is responsible for managing render objects for the visibility group.
    // The visibility group is added when a valid render processor "component" is added to the scene.
    var background = new RibbonBackgroundComponent
    {
        Intensity = 0.5f,
        Frequency = 0.5f,
        Amplitude = 0.5f,
        Speed = 0.5f,
        WidthFactor = 0.5f
    };

    // Once this gets added to the scene, the render processor will be added to the scene.
    var entity = new Entity { new RibbonBackgroundComponent() };
    scene.Entities.Add(entity);

    game.Window.Position = new Stride.Core.Mathematics.Int2(50, 50);
    game.Window.AllowUserResizing = true;
}

// This method adds the render feature to the game.
// This ensures that the game knows how to render the RibbonBackgroundComponent.
void AddRenderFeature()
{
    game.SceneSystem.GraphicsCompositor.TryGetRenderStage("Opaque", out var opaqueRenderStage);
    var renderFeature = new RibbonBackgroundRenderFeature()
    {
        RenderStageSelectors =
        {
            new SimpleGroupToRenderStageSelector
            {
                EffectName = "RibbonBackground",
                RenderGroup = RenderGroupMask.All,
                RenderStage = opaqueRenderStage,
            }
        }
    };

    game.AddRootRenderFeature(renderFeature);
}